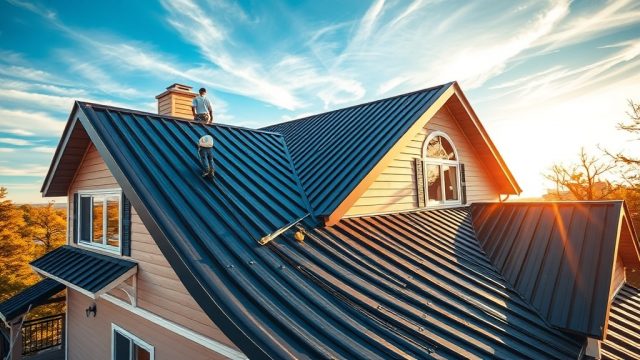
Installing a Standing Seam Pro metal roof requires precision and adherence to best practices to ensure longevity and performance. This guide walks through the critical steps and common pitfalls, from panel placement to flashing details.
What Prep Work Is Needed Before Starting Standing Seam Pro Installation?
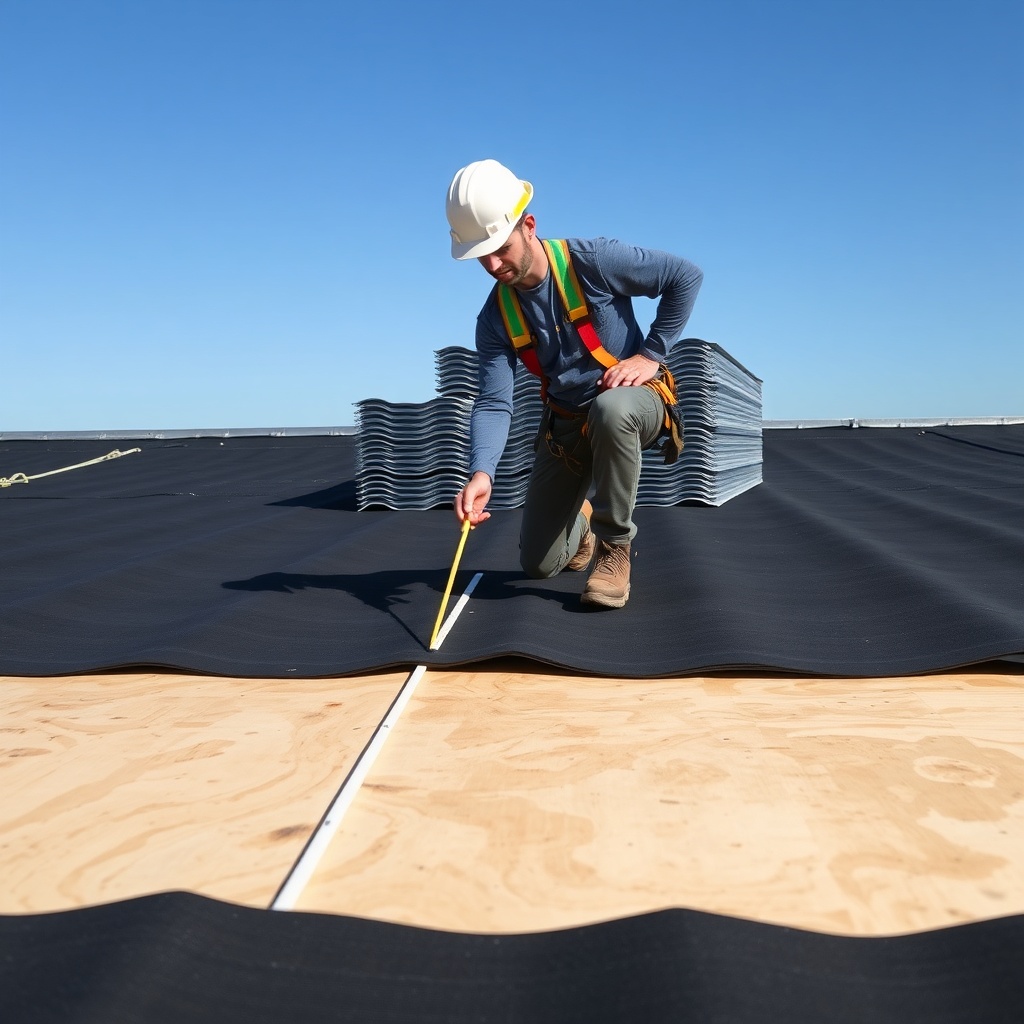
Before any panel touches the roof, the substrate must be clean, dry, and structurally sound. Standing Seam Pro panels perform best on a solid roof deck—typically 5/8-inch plywood or OSB—with a minimum slope of 3:12. Check for rot or uneven sheathing; any deflection over 1/4 inch per 4 feet needs correction. Install a high-quality, breathable underlayment (e.g., synthetic felt or a self-adhering membrane) over the entire deck, with a 6-inch overlap at seams. At valleys and penetrations, apply a self-sealing ice-and-water shield at least 3 feet up from the eave.
Next, snap chalk lines for the first panel alignment. Standing Seam Pro panels have a 16-inch or 18-inch coverage width, so mark reference lines every 2 feet across the roof to keep panels perfectly horizontal. Gather all tools: metal shears, a variable-speed drill, a GutterLock or similar seaming tool (or a roll former if you’re on-site), and a level. Do not use a standard circular saw—metal chips can scratch the AgNet or PVDF coating. Use a carbide-tipped blade if cutting is unavoidable, but edge cuts are best done with a plasma cutter or hand shears.
Pro tip: unbox panels 24 hours before installation to let them acclimate to ambient temperature. This prevents oil-canning and thermal expansion issues later. For more on material care, see our Care Tips for Standing Seam Pro Roofs: Snow Guards & Sealing.
How Should You Position and Secure the First Standing Seam Pro Panel?
The first panel sets the tone for the entire roof. Start at the eave, aligning the panel’s leading edge with the chalk line. The panel’s male seam (the rib that sticks out) should face the ridge; the female seam faces the eave. This orientation allows interlocking panels to slide during thermal expansion. Use a string line along the eave to ensure the panel overhang is uniform—typically 1 to 1.5 inches for a 5-inch gutter.
Secure the panel with self-drilling, non-corrosive fasteners (stainless steel or coated carbon steel) at the clip locations. Standing Seam Pro uses a hidden clip system; each clip attaches to the deck and the panel’s inside seam channel. Space fasteners 12 inches apart in the field and 8 inches at the ends (first and last 2 feet). Fasteners must penetrate the deck by at least 3/4 inch for structural integrity. Do not over-torque—snug is enough; overtightening can distort the panel profile.
Check level after every 3 feet. If a panel drifts, adjust by loosening clips slightly before fully tightening. Use a 4-foot level on the top rib to confirm alignment. For complex roofs with hips or valleys, consider pre-bending panels or using factory-mitered pieces. Our guide on Standing Seam Pro Aluminum Roofing: Durability & Performance covers clip spacing for different material weights.
What Flashing and Trim Details Are Critical for Leak Prevention?
Flashing is where most failures occur. Standing Seam Pro systems require specific flashing for ridge, rake, eave, and valley conditions. For rake edges, install a drip edge that extends below the underlayment by at least 1/2 inch. Use a die‑formed or pre‑bent rake flashing that matches the panel profile—flat stock can look sloppy and trap water. At the ridge, use a ridge cap with integrated venting or closed‑cell foam closure strips to prevent debris and bird entry.
Valleys must be at least 18 inches wide, formed from a single piece of matching metal, and installed with a center crease to direct water. Lap valley flashing 6 inches onto the field area at the bottom. Use butyl tape or a sealant bead (polyurethane or neutral‑cure silicone) between all overlapping flashing pieces. Do not use asphalt‑based sealants—they react with metal paints. For pipe penetrations, install a pitch‑pocket or a factory‑fabricated boot that is caulked at the top and clamped around the pipe.
Thermal expansion is a major factor: Standing Seam Pro panels can expand up to 1/8 inch per 10 feet in temperature swings. Use slotted expansion cleats at any attachment point that bridges panels, and leave a 1/4‑inch gap at ridge caps to allow movement. For more on sealing techniques, refer to our Care Tips for Standing Seam Pro Roofs: Snow Guards & Sealing.
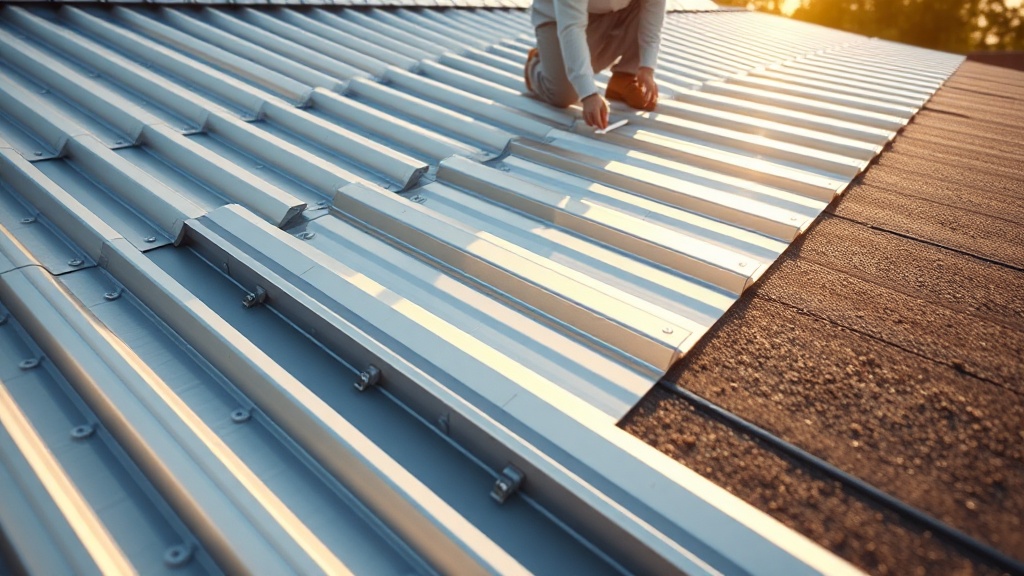
What Are the Best Practices for Seaming and Closure?
Panel seams are the heart of a standing seam roof. Standing Seam Pro panels are mechanically seamed after all panels are placed. First, verify that all panels are completely seated together. Use a rubber mallet to gently tap panels if needed—never use a metal hammer directly on the coating. Then, use a hand seamer or an electric seaming tool to close the male and female ribs. A hand seamer costs about $150–$300 and is sufficient for small roofs; for larger projects, rent an electric seamer (around $75 per day) for consistent, uniform seams.
Start seaming from the ridge downward to the eave, working in continuous passes. Do not skip panels—double‑check alignment between runs. After seaming, inspect each lock visually: it should form a crisp, interlocking “S” shape with no gaps. If you see any gap, that panel needs re‑seaming or adjustment. Use a 1/16‑inch feeler gauge to test seam tightness at random points; it should not fit between the locked ribs. Seal the end of each seam with a dab of sealant (polyurethane or silicone) to prevent capillary water entry.
Table: Severity of Common Seam Issues
| Issue | Severity | Action Needed |
|---|---|---|
| Seam gap > 1/16 inch | Needs attention soon | Re‑seam with tool; if persistent, replace clip or panel |
| Small coating scratch at seam ( < 1 inch) | Usually not urgent | Touch up with factory‑matched paint pen within 30 days |
| Panel not fully seated before seaming | Needs attention soon | Disassemble, clean debris, re‑seat and re‑seam |
| Visible oil‑canning/waviness after seaming | Usually not urgent | Identify cause (tight fasteners); adjust clips if possible |
| Water pooling at seam valley | Needs attention soon | Add sealant at low points or install a cricket |
How Do You Handle Complex Roof Shapes With Standing Seam Pro?
Valleys, hips, and dormers require pre‑planning. For a valley, measure the angle and cut the valley flashing 3 inches wider on each side than the panel width. Use a hand‑crank brake to bend the flashing to match the roof slope within 2 degrees. For a hip, use a factory‑brazed hip cap or field‑form one with a brake; avoid miter cuts that expose raw edges. Dormers are tricky: install a separate cricket behind the dormer to divert water. Seal all intersections with a polyurethane caulk and a stainless steel fastener every 6 inches.
For curved roofs (rare but possible with Standing Seam Pro), use a three‑roller slip roll to curve panels. The minimum radius is about 12 feet for 24‑gauge steel; tighter radii require thinner gauge or zinc. For a curved ridge, use segmented ridge caps that overlap 2 inches and are sealed at each joint. If your roof has multiple ridges, install expansion joints at every 40 feet of linear run to accommodate movement. For premium material options like zinc, see Standing Seam Pro in Zinc: Premium Roofing Choice.
What Post‑Installation Checks and Maintenance Should You Do?
After the last panel is seamed and all flashing is in place, walk the entire roof (using a rope and harness, or a safety anchor system) to inspect for loose fasteners, gaps, or sharp edges. Use a high‑quality digital moisture meter on the underlayment from the attic side to confirm no leaks. Spot‑check seam integrity with the feeler gauge. Apply touch‑up paint to any scratches larger than a pencil eraser; leftover paint from the manufacturer costs about $30 per 4 oz can.
Clean the roof of metal shavings, plastic wrap, and debris. Metal shavings can rust and stain the coating if left for more than a few days. Install snow guards in areas with heavy snow loads (more than 30 inches annual accumulation) to prevent avalanches. For guidance on placement, review Care Tips for Standing Seam Pro Roofs: Snow Guards & Sealing.
Finally, seal all roof penetrations—vents, skylights, and pipe boots—with a strip of self‑adhesive flashing tape plus a bead of sealant. Document the work with photos for warranty purposes. Standing Seam Pro typically carries a 40‑year paint warranty and a 25‑year substrate warranty, provided installation follows these best practices.
What Owners Say
Real feedback after installation reveals two common themes. First, homeowners appreciate the clean look but note that the cost—averaging $12 to $18 per square foot installed—is higher than asphalt shingles. Owner from Denver stated: “We love that it’s maintenance‑free so far, but I wish the contractor had double‑checked the seam sealant at valleys. A small leak showed up after first rain, easily fixed.”
Second, snow‑belt owners emphasize the importance of snow guards. Owner from Minneapolis: “Our roof looks amazing after two winters, but without snow guards, the sliding snow would have damaged the downspouts. Installing them after installation cost extra, so do it upfront.” Another owner noted: “The hidden fasteners are neat—no ugly screw heads. But I recommend waiting a year before painting touch‑ups to let the roof settle.”
Frequently Asked Questions
Can I install Standing Seam Pro over existing asphalt shingles?
Technically yes, but not recommended due to moisture trapping. A tear‑off is best to inspect the deck and ensure proper airflow. Overlay can void the paint warranty. If you must, install a breathable underlayment and 2×2 furring strips.
What gauge steel does Standing Seam Pro use?
Most panels are 22‑gauge or 24‑gauge steel (0.030″ to 0.028″ thick). For high‑snow loads, 20‑gauge is available. Heavier gauge increases cost by about 20% but improves dent resistance.
How long does installation take for a typical home?
A 2,000‑sq‑ft single‑story home with a simple gable roof takes 3–5 days for a two‑person crew. Complex shapes add 2–3 days. Plan for 10‑15% waste on valleys and hips.
Do I need special training to install Standing Seam Pro?
Not required, but manufacturer‑certified installers are preferred. DIY is possible if you have metal roof experience, but mistakes in seaming or clip placement can void the warranty.
What is the maximum panel length?
Factory‑cut panels generally go up to 40 feet. For longer runs, join panels with a standing seam lap joint (overlap 6 inches) sealed with butyl tape. Use expansion cleats at joints.
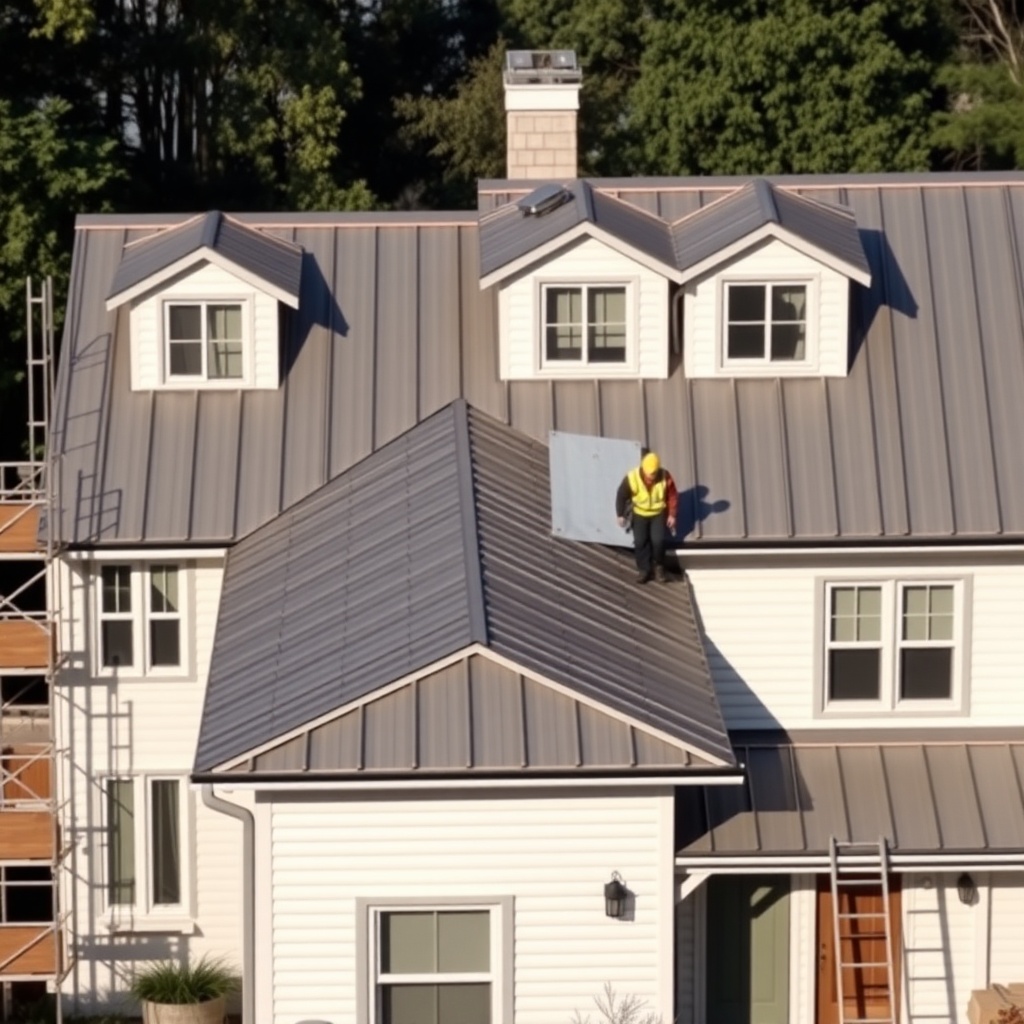
Can I walk on Standing Seam Pro after installation?
Yes, but only on the flat areas between seams, using soft‑soled shoes. Avoid walking on seam ridges—they can bend. Use a roof ladder or crawling board to distribute weight.