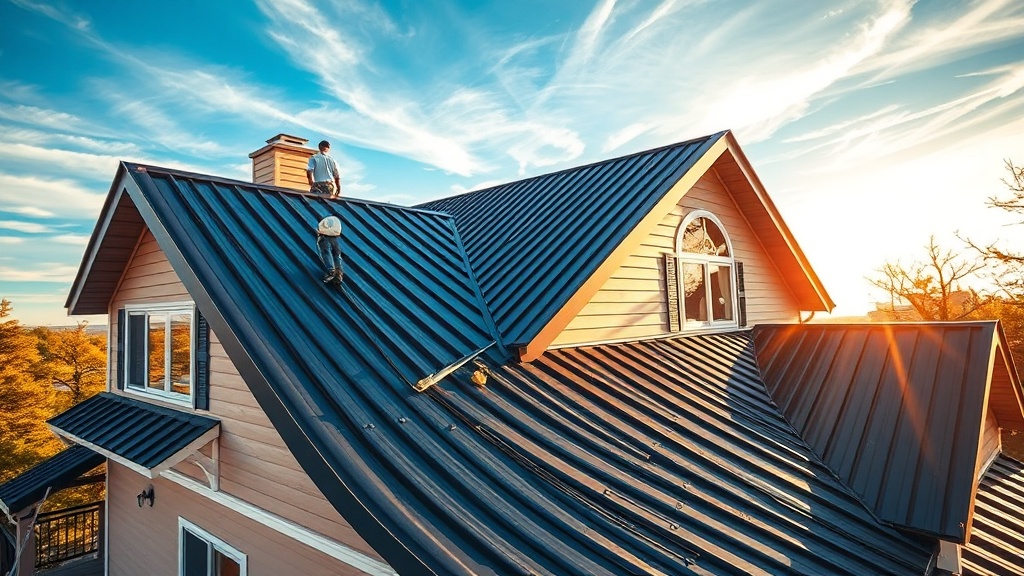
How to Install Classic Rib Metal Roofing: Step-by-Step Guide
Classic Rib metal roofing delivers a clean, agrarian aesthetic with superior durability, but getting the installation right is critical. This guide walks through the essential steps for a professional-grade installation on a typical pitched residential roof, covering tools, fasteners, flashing, and common pitfalls. Whether you’re a seasoned contractor or a confident DIYer, these practical details will help ensure a watertight, long-lasting Classic Rib roof.
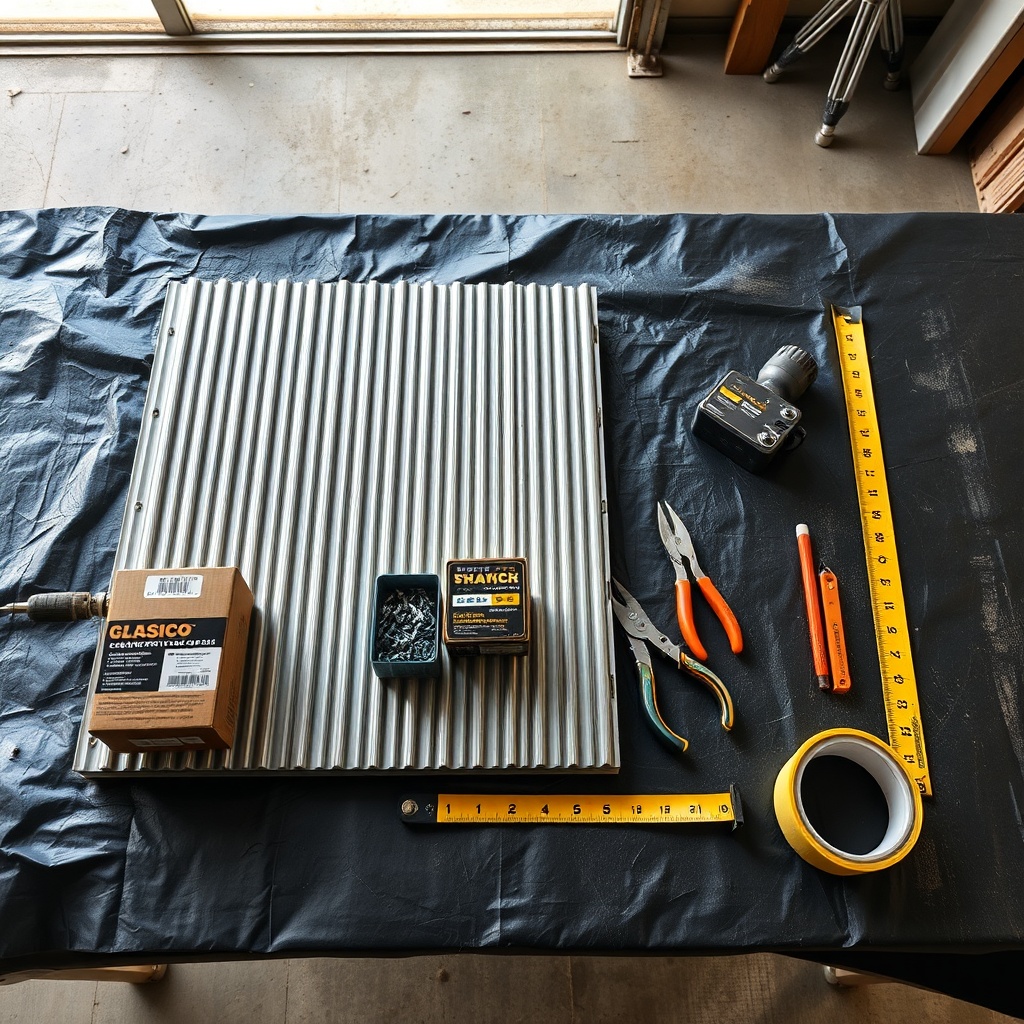
What Tools and Materials Do You Need for Classic Rib Installation?
Before lifting the first panel, gather the specific tools and materials suited for Classic Rib’s profile. The panels have a 1-inch major rib pattern that requires precise cutting and fastening.
- Power tools: A variable-speed drill with a depth-stop nosepiece (to avoid over-tightening screws), plus a metal-cutting circular saw with a carbide-tipped blade or electric shears. Avoid abrasive cut-off wheels—they can burn the coating.
- Hand tools: Tin snips (left and right cut), a carpenter’s square, chalk line, seamers, and a rivet gun. A magnetic sweep is useful for collecting steel shavings that can rust later.
- Fasteners: #12 x 1-inch hex-head self-drilling screws with EPDM washers for panel attachment. Use #12 x 7/8-inch screws for side laps and flashing. Always match screw head color to the roof color (e.g., Charcoal Grey, Burnished Slate).
- Flashing and accessories: Ridge cap, eave drip edge, gable trim, valley flashing, pipe boot, and closure strips (both ridge and eave). Pre-formed rake trim for Classic Rib is available to avoid bending it yourself.
- Underlayment: A synthetic underlayment rated for metal roofs (e.g., a 40-year product with anti-UV coating). Do not use asphalt-saturated felt under metal—it can blister and trap moisture.
- Sealants and tapes: Butyl sealant tape for end laps and pipe boots, and a high-quality polyurethane sealant for exposed fasteners on ridge caps.
A good rule of thumb: order about 10 percent extra panel length to account for cutting waste and ensure full coverage from eave to ridge without splicing.
How Do You Prepare the Roof Deck and Underlayment for Classic Rib?
Classic Rib metal roofing requires a solid, flat, and clean substrate. Start with a deck inspection:
- Ensure the roof deck (plywood or OSB) is at least 7/16-inch thick, smooth, and free of protruding nails. Replace any rotted or warped sheets.
- Install a code-compliant ice and water shield in valleys, at eaves (minimum 2 feet up from the drip edge), and around penetrations like chimneys and vents. On the rest of the roof, apply a synthetic underlayment, overlapping horizontal rows by at least 6 inches and vertical seams by 12 inches.
- Install eave drip edge first, nailed to the deck with standard roofing nails, overlapping pieces by 2 inches. Then install gable (rake) drip edge over the underlayment, again overlapping at corners. This won’t be visible after panel installation but helps direct water into the gutter.
- For Classic Rib’s major ribs, install eave closure strips (high-density foam or preformed metal) along the eave line. These keep birds and debris out and provide a bedding surface for the panel’s bottom edge. Position them so the closure’s notch aligns with the panel’s rib pattern.
Pro tip: use a chalk line to mark where each major rib will land, especially on complex hips and valleys. This helps keep panels parallel and prevents “creeping” of the pattern.
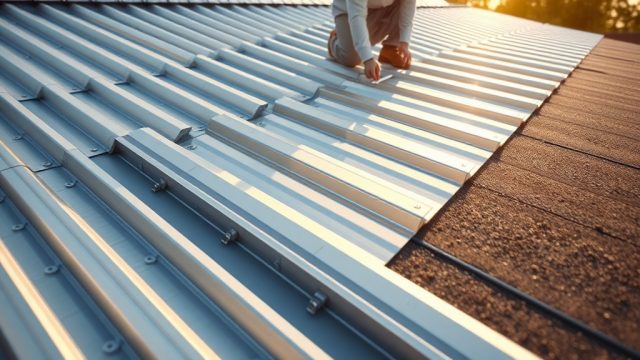
How Do You Cut and Fit Classic Rib Panels Correctly?
Classic Rib panels are typically available in lengths up to 40 feet, so on most homes you can run a single panel from eave to ridge—avoiding end laps. Here’s the cutting and fitting process:
- Measure and mark: Measure from the eave’s drip edge up to the ridge’s top, add 2 inches for overhang at the eave (1 to 1.5 inches) and ridge closure. Use a T-square across the panel’s width to mark cut lines on the flat pan between ribs.
- Cutting with a circular saw: Set the saw’s blade depth to just slightly deeper than the metal. Clamp a straightedge along the cut line. Cut slowly, letting the blade do the work—fast feeding can cause chatter marks. For curved cuts or notches (around pipe penetrations), use electric shears or aviation snips.
- Deburring: After cutting, run a file or deburring tool along all cut edges. Burrs can catch moisture and develop rust, and they also scrape off the protective coating from adjacent panels during handling.
- Notching for valleys: If your roof has valleys (open or closed), use a metal scribe to trace the valley angle onto the panel, then cut with snips. Leave a 2-inch gap between the panel edge and valley center to allow water flow.
Always wear heavy work gloves—Classic Rib’s steel edges are sharp. Also, avoid walking directly on uncrated panels; they can dent and the coating can scratch. Set cut panels on a protected surface (e.g., a drop cloth or cardboard) until installation.
How Do You Fasten Classic Rib Panels to the Roof Deck?
Fastening is the most critical step—too tight and you’ll deform the panel; too loose and it can leak. Follow these rules for Classic Rib:
- Screw placement: Drive screws into the flat pan (between the major ribs), not into the rib itself unless specified by the manufacturer. Most Classic Rib profiles allow fastening through the minor ribs (the smaller elevated sections between major ribs) or the flat pan. Check the manufacturer’s guide—for example, “Classic Rib” from some makers permits fastening through the minor rib, but not the major 1-inch rib.
- Pattern: Start at the eave, placing a screw every 12 to 18 inches along each panel’s fastening line. At the ridge and eave edges, place fasteners closer (every 6 to 8 inches) to prevent wind lift. Stagger screws between rows to distribute load.
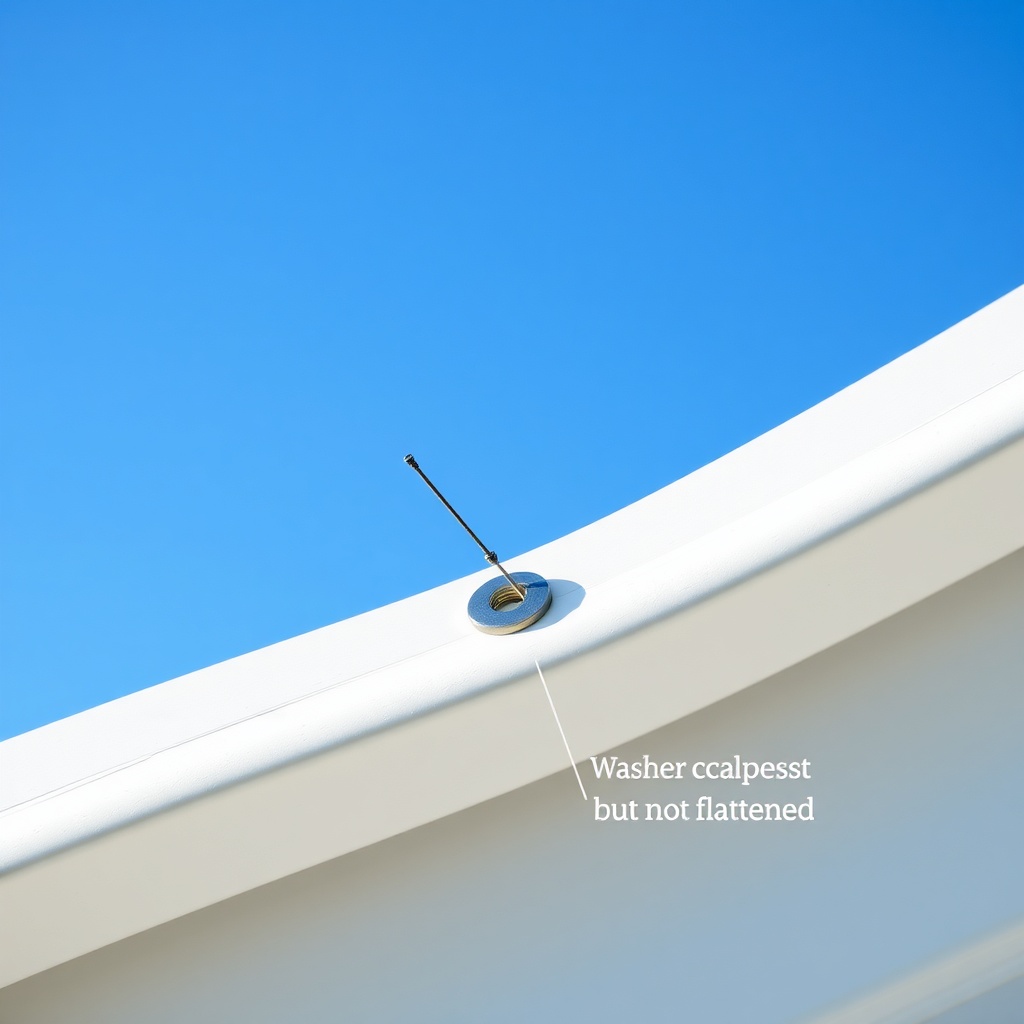
- Depth stop: Use a drill with a torque stop or depth nose. Tighten until the washer just begins to show a slight ooze of sealant (not flattened into a pancake). Over-tightening can create stress cracks over time.
- Side lap connection: Where two panels overlap (side lap), use a shorter screw (e.g., #12 x 7/8-inch) spaced every 12 inches along the overlap. This secures the panel edge. For Classic Rib’s narrow side lap (typically 2.5 to 3 inches), butyl tape between the overlapping panels adds backup seal.
| Severity Level | Common Issue with Classic Rib Fastening |
|---|---|
| Usually Not Urgent | One or two screws slightly deeper than others (washer seal visible but not crushed). Can be monitored; replace if washer cracks within a year. |
| Needs Attention Soon | Several screws overtightened (washers flattened, spilt or metal dimpled around screw head). Replace immediately with new screws in adjacent holes (drill fresh holes if needed). |
| Needs Immediate Action | Missing screws at side laps or end laps (panel edges loose, risk of wind damage). Install correct fasteners before next storm. |
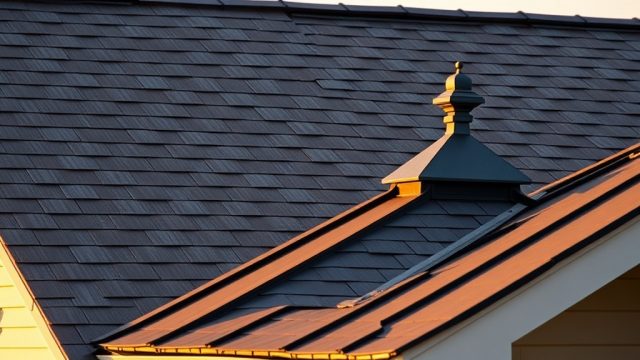
How Do You Install Flashing, Ridge Cap, and Trim for Classic Rib?
Flashing and trim are where water management is perfected. For Classic Rib, use preformed pieces or field-bend with a brake:
- Ridge cap: Install a foam ridge closure strip (cut to match the rib pattern) on top of the panel’s top edge, then place the ridge cap over it. Fasten ridge cap screws through the cap and closure strip into the panel’s major rib. Use a screw every 12 inches. Seal screw heads with a dab of polyurethane sealant (color-matched).
- Valleys: For open valleys, use W-shaped valley flashing that extends 8 to 12 inches on each side of the valley center. The panels should run over the valley flashing, not the other way. Caulking is not needed at the valley overlap—the slope does the work. For closed valleys (weaving panels), install a center support strip and seal the lap area.
- Gable trim: Slide the gable rake trim over the panel’s edge and fasten to the gable end with screws every 12 inches. Pre-drill holes in the trim to avoid bulging.
- Pipe penetrations: Use a pre-formed pipe boot (rubber) over a cut-out in the panel. Seal the boot’s base with butyl mastic and secure with screws around the perimeter. For round pipes up to 6 inches, cut a hole 1/4-inch larger than the pipe diameter.
- Eave drip edge: Already installed under the panel, the drip edge should extend into the gutter or past the fascia. After the panels are installed, check that the drip edge is not pushing up on the panel—trim if needed.
A well-flashed Classic Rib roof looks clean and uncluttered; every piece of metal should have a defined purpose, not just be “caulked to seal.”
How Do You Handle End Laps With Classic Rib Panels?
While a classic rib roof works best without end laps, if your roof is longer than available panel lengths (over 40 feet), you’ll need to lap them:
- Location: Plan end laps over a solid deck area (not over a valley or open space). Never have an end lap in a depression or low spot.
- Overlap distance: Minimum 6 to 8 inches for Classic Rib (check manufacturer). More overlap is better in low-slope applications.
- Butyl tape: Apply a continuous strip of butyl sealant tape across the full width of the lower panel’s top edge (on the flat pan and minor ribs). Then slide the upper panel over it.
- Fastening: Use #12 x 1-inch screws across the overlap, staggered on the flat pans and minor ribs, spacing every 8 to 12 inches. This compresses the tape and creates a seal.
- Prevention: If possible, avoid end laps entirely by ordering custom-length panels. Many metal suppliers can cut Classic Rib in 40-foot-plus lengths for a shipping surcharge (usually around 10–15 percent more).
End laps are the most common leakage points on any metal roof—take extra care with alignment and sealing.
What Do Classic Rib Owners Say After Installation?
Homeowners who’ve installed Classic Rib often share two main observations. First, they mention the noisy rain factor—without proper insulation and an attic space, light rain can sound like a drum. However, owners who added a 1/2-inch insulated foam board under the panels report a quieter experience. Second, they stress the self-tapping screw feel: if you don’t set a depth stop, you’ll almost certainly strip out several fasteners. One owner from Ohio noted, “I ruined four screws before I realized my drill was on high torque. Backed it off, and the rest went in perfectly.” Another from Florida mentioned that the color fade over 10 years was minimal on a Charcoal Grey finish, but that light-colored panels (like Beige) showed dirt more quickly. Overall, owners praise the classic look and longevity, but caution that the first day of rain is surprisingly loud.
Frequently Asked Questions
Can I install Classic Rib metal roofing over existing shingles?
Yes, but it’s not ideal. Follow the manufacturer’s instructions: typically, you can install over one layer of composition shingles if the roof deck is sound. Add a metal-roof-approved underlayment over the shingles, then furring strips (1×4 lumber) to create an air gap. Classic Rib panels then fasten into the furring strips. Expect a higher cost for the extra materials (about $0.60 to $1.20 per square foot).
What is the recommended screw spacing for Classic Rib panels?
For the flat pan, space screws every 12 to 18 inches along the panel length, using alternating rows to avoid a straight line that could create a shear line. At the eave and ridge, space every 6 to 8 inches. For side laps, every 12 inches. Always check the manufacturer’s guide—some specific profiles require closer spacing on low-slope roofs (under 4:12 pitch).
Do I need to use butyl tape on every side lap?
For Classic Rib panels, butyl tape on the side lap is highly recommended but not always required. If your roof pitch is 6:12 or steeper, and you are confident in the overlap seal, you can rely on the compressed panels. For typical residential slopes (4:12), use tape to guarantee water tightness. On a Low-Slope (2:12 or 3:12), tape is mandatory.
How do I cut a Classic Rib panel around a chimney?
Measure the chimney width plus 4 inches for side flashing. Trace the shape onto the panel, then cut along the lines with electric shears or snips. Leave a 1-inch gap between the panel and chimney. Install counter-flashing that covers the cut edge. Seal the junction with polyurethane sealant. For square chimneys, create a custom saddle (cricket) on the upper side to divert water away.
What is the cost to install Classic Rib metal roofing per square foot?
Material cost for Classic Rib panels ranges from £2.50 to £4.00 per square foot ($3.20 to $5.10) depending on gauge (26-gauge typical) and color. Installation labor adds £2.50 to £4.50 per square foot ($3.20 to $5.80). A total installed cost for a 1,500-square-foot roof typically falls between £7,500 and £13,500 ($9,600 to $17,200). Prices vary by region and roof complexity.
How long does a Classic Rib metal roof last?
With proper installation and maintenance, Classic Rib metal roofing can last 40 to 60 years. The steel panels are typically galvanized with a 55% aluminum-zinc alloy coating (AZ55 or AZ150) and painted with a durable automotive-grade topcoat. The longevity depends on the local climate (salt air near coasts reduces lifespan by about 15–20%). Following Maintaining Your Classic Rib Roof: Cleaning and Repairs will help maximize its service life.
For more detailed comparisons, read Classic Rib vs Standing Seam: Which Is Better? to see how this profile stacks up against the premium option. Before purchasing, review our Classic Rib Steel Roofing: Pros, Cons & Cost Analysis in full.
Whether you’re tackling a DIY project or hiring a pro, a well-installed Classic Rib roof pays back its cost in decades of reliable protection. Take the time to measure twice, cut once, and fasten with care—your roof will thank you.